
I love having jam around the house. There are so many fun ways to use it, from classics like a pb&j to mixing it into my homemade greek yogurt to mix up the flavors.
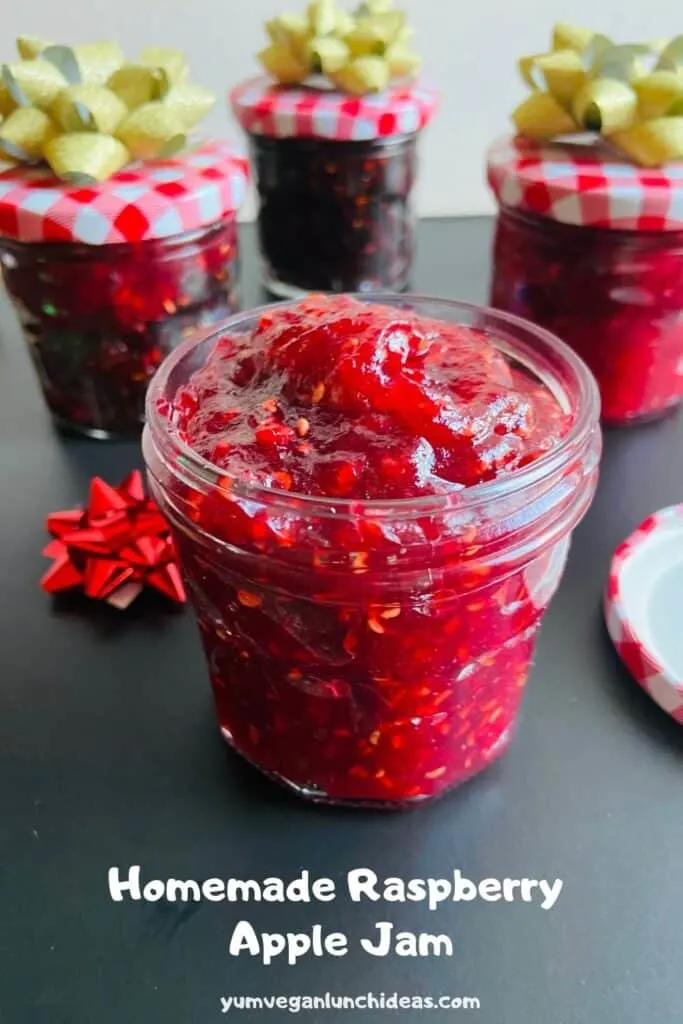
It’s actually very easy to make your own jams and they make such a nice homemade gift. Whether you are planning on making jam for yourself or to share among friends, this delicious raspberry and apple jam is an amazing place to start!
Apple and Raspberry Jam Ingredients
It only takes a few ingredients to whip together this raspberry apple jam. You’ll need:
- Green Apples
- Raspberries (I use frozen)
- Sugar
- Lemon Juice
- Vanilla Extract
(Optional)
How To Make Apple Raspberry Jam
Making apple raspberry jelly is just a matter of simmering all the ingredients together until they become cohesive and thickened. This is a great article if you want to learn more about the hows and whys of fruit preservation in jams and jellys.
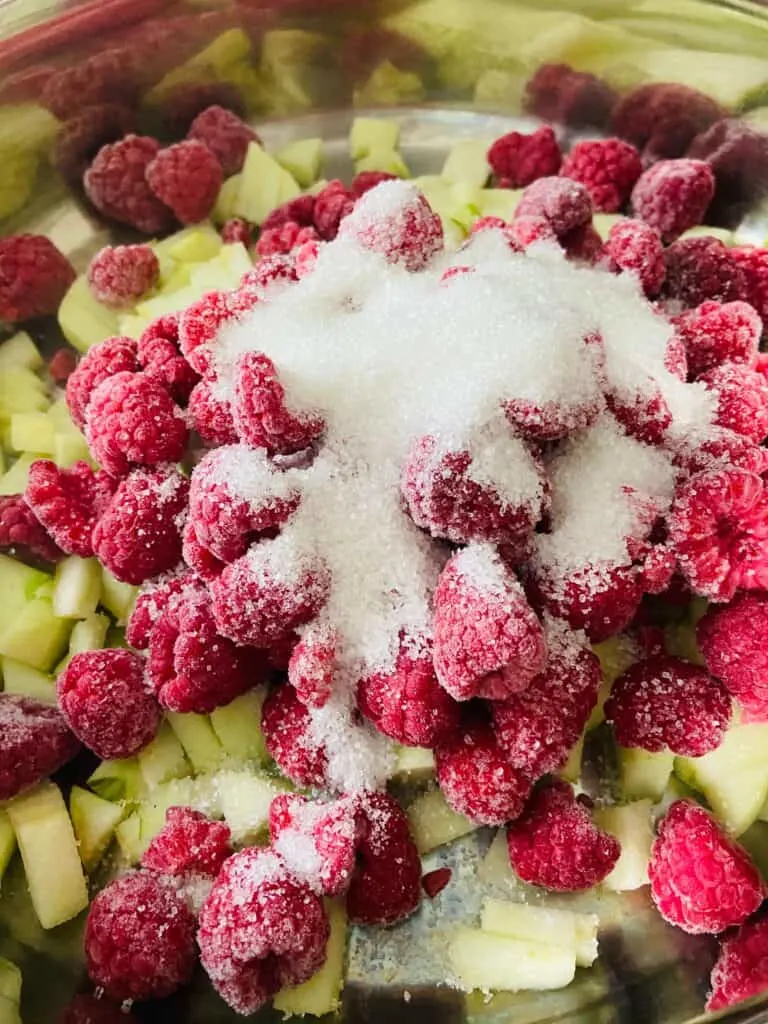
To start with, you’ll need to chop the apples. You can do a larger chop (like i did in the video) but you will probably have to get in with a masher later to break it down towards the end of the cooking process.
If you don’t want to have to do that, dice the apples small.
Throw the apples, raspberries, sugar, lemon juice, a bit of water, and vanilla extract (if using) into the pan. If you are using frozen raspberries, there is no need to defrost ahead of time. Once all your ingredients are in the pan, put it onto the heat and bring it to a low simmer.

The mixture needs to cook for around 30 min. If you change the batch size from the amount in the recipe it may take shorter/longer to cook.
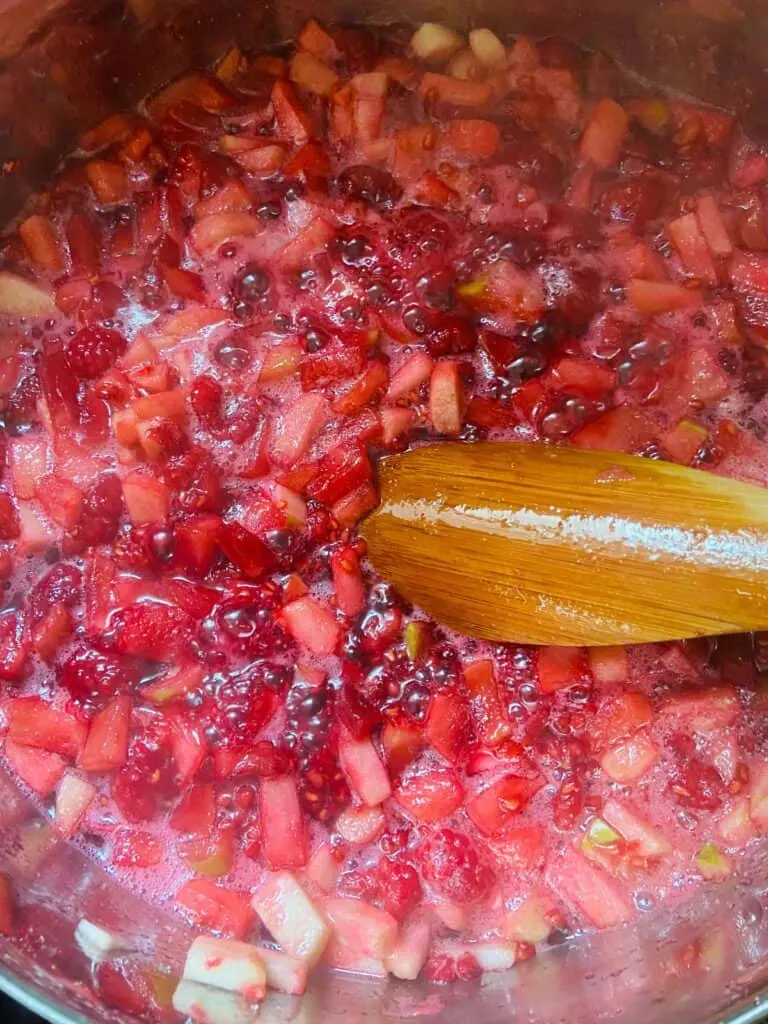
Stir occasionally throughout the cooking process and make sure to watch that it stays at the low simmer the whole time and doesn’t burn.
When it starts cooking all the fruit juices will start to emerge and it will get really liquidy. Next it the fruit will start to break down and the liquid will thicken. If you are getting to the end of cooking and there are still fruit you feel are in too big peices, just take a fork or a masher and break them up a bit.
If you want it really smooth you can always throw it in your blender to smooth it out before it cools down after cooking.

Put some spoons in your freezer while it cooks to test the readiness. Around the 25 minute mark you can start testing it.
The liquid part of the jam gets thicker when cooled down so test the final consistency, dip a frozen spoon into the jam and take it out of the pan. Draw a line down the center of the jam on the spoon with your pinky.
Then check if the jam drips down to refill the line that you created. If it does, the jam is still not thick enough. If it holds it’s place, it’s finished.
When it’s done, take the pan off the heat and allow it to cool.
Storing Raspberry Apple Jam
For short term storage, place the finished jam into clean containers/jars and allow it to cool fully before storing it in the fridge. It should last a few weeks this way.

For long term storage you have two options, you can can or freeze the jam.
If you plan on canning the jam, make sure to follow proper canning instructions if you’ve never canned food before. If you are going to freeze the jam, it can be frozen for around 3 months.
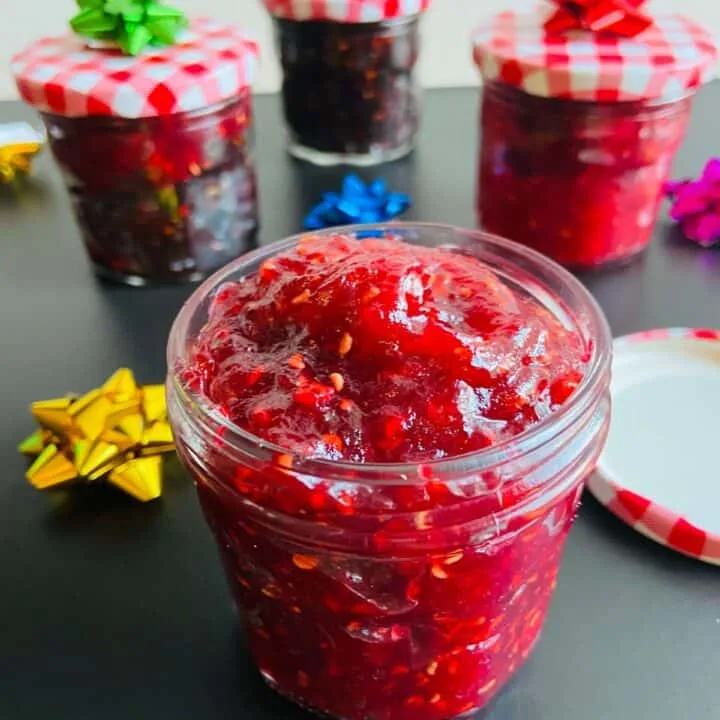
Serving Homemade Raspberry Jam
Here are a few of my favorite ways to eat raspberry jam:
- Spread it on toast, rolls, brioche or scones.
- Swirl it into plain yogurt – like our homemade soy greek yogurt.
- Use it as filling for jelly donuts.
- Pb&js
- As filling in homemade pop tarts.
- Swirl it into pancake batter to add a pop of flavor.
- Give it away as an edible gift!
Don’t Forget to Pin This Recipe For Later!
You may also enjoy


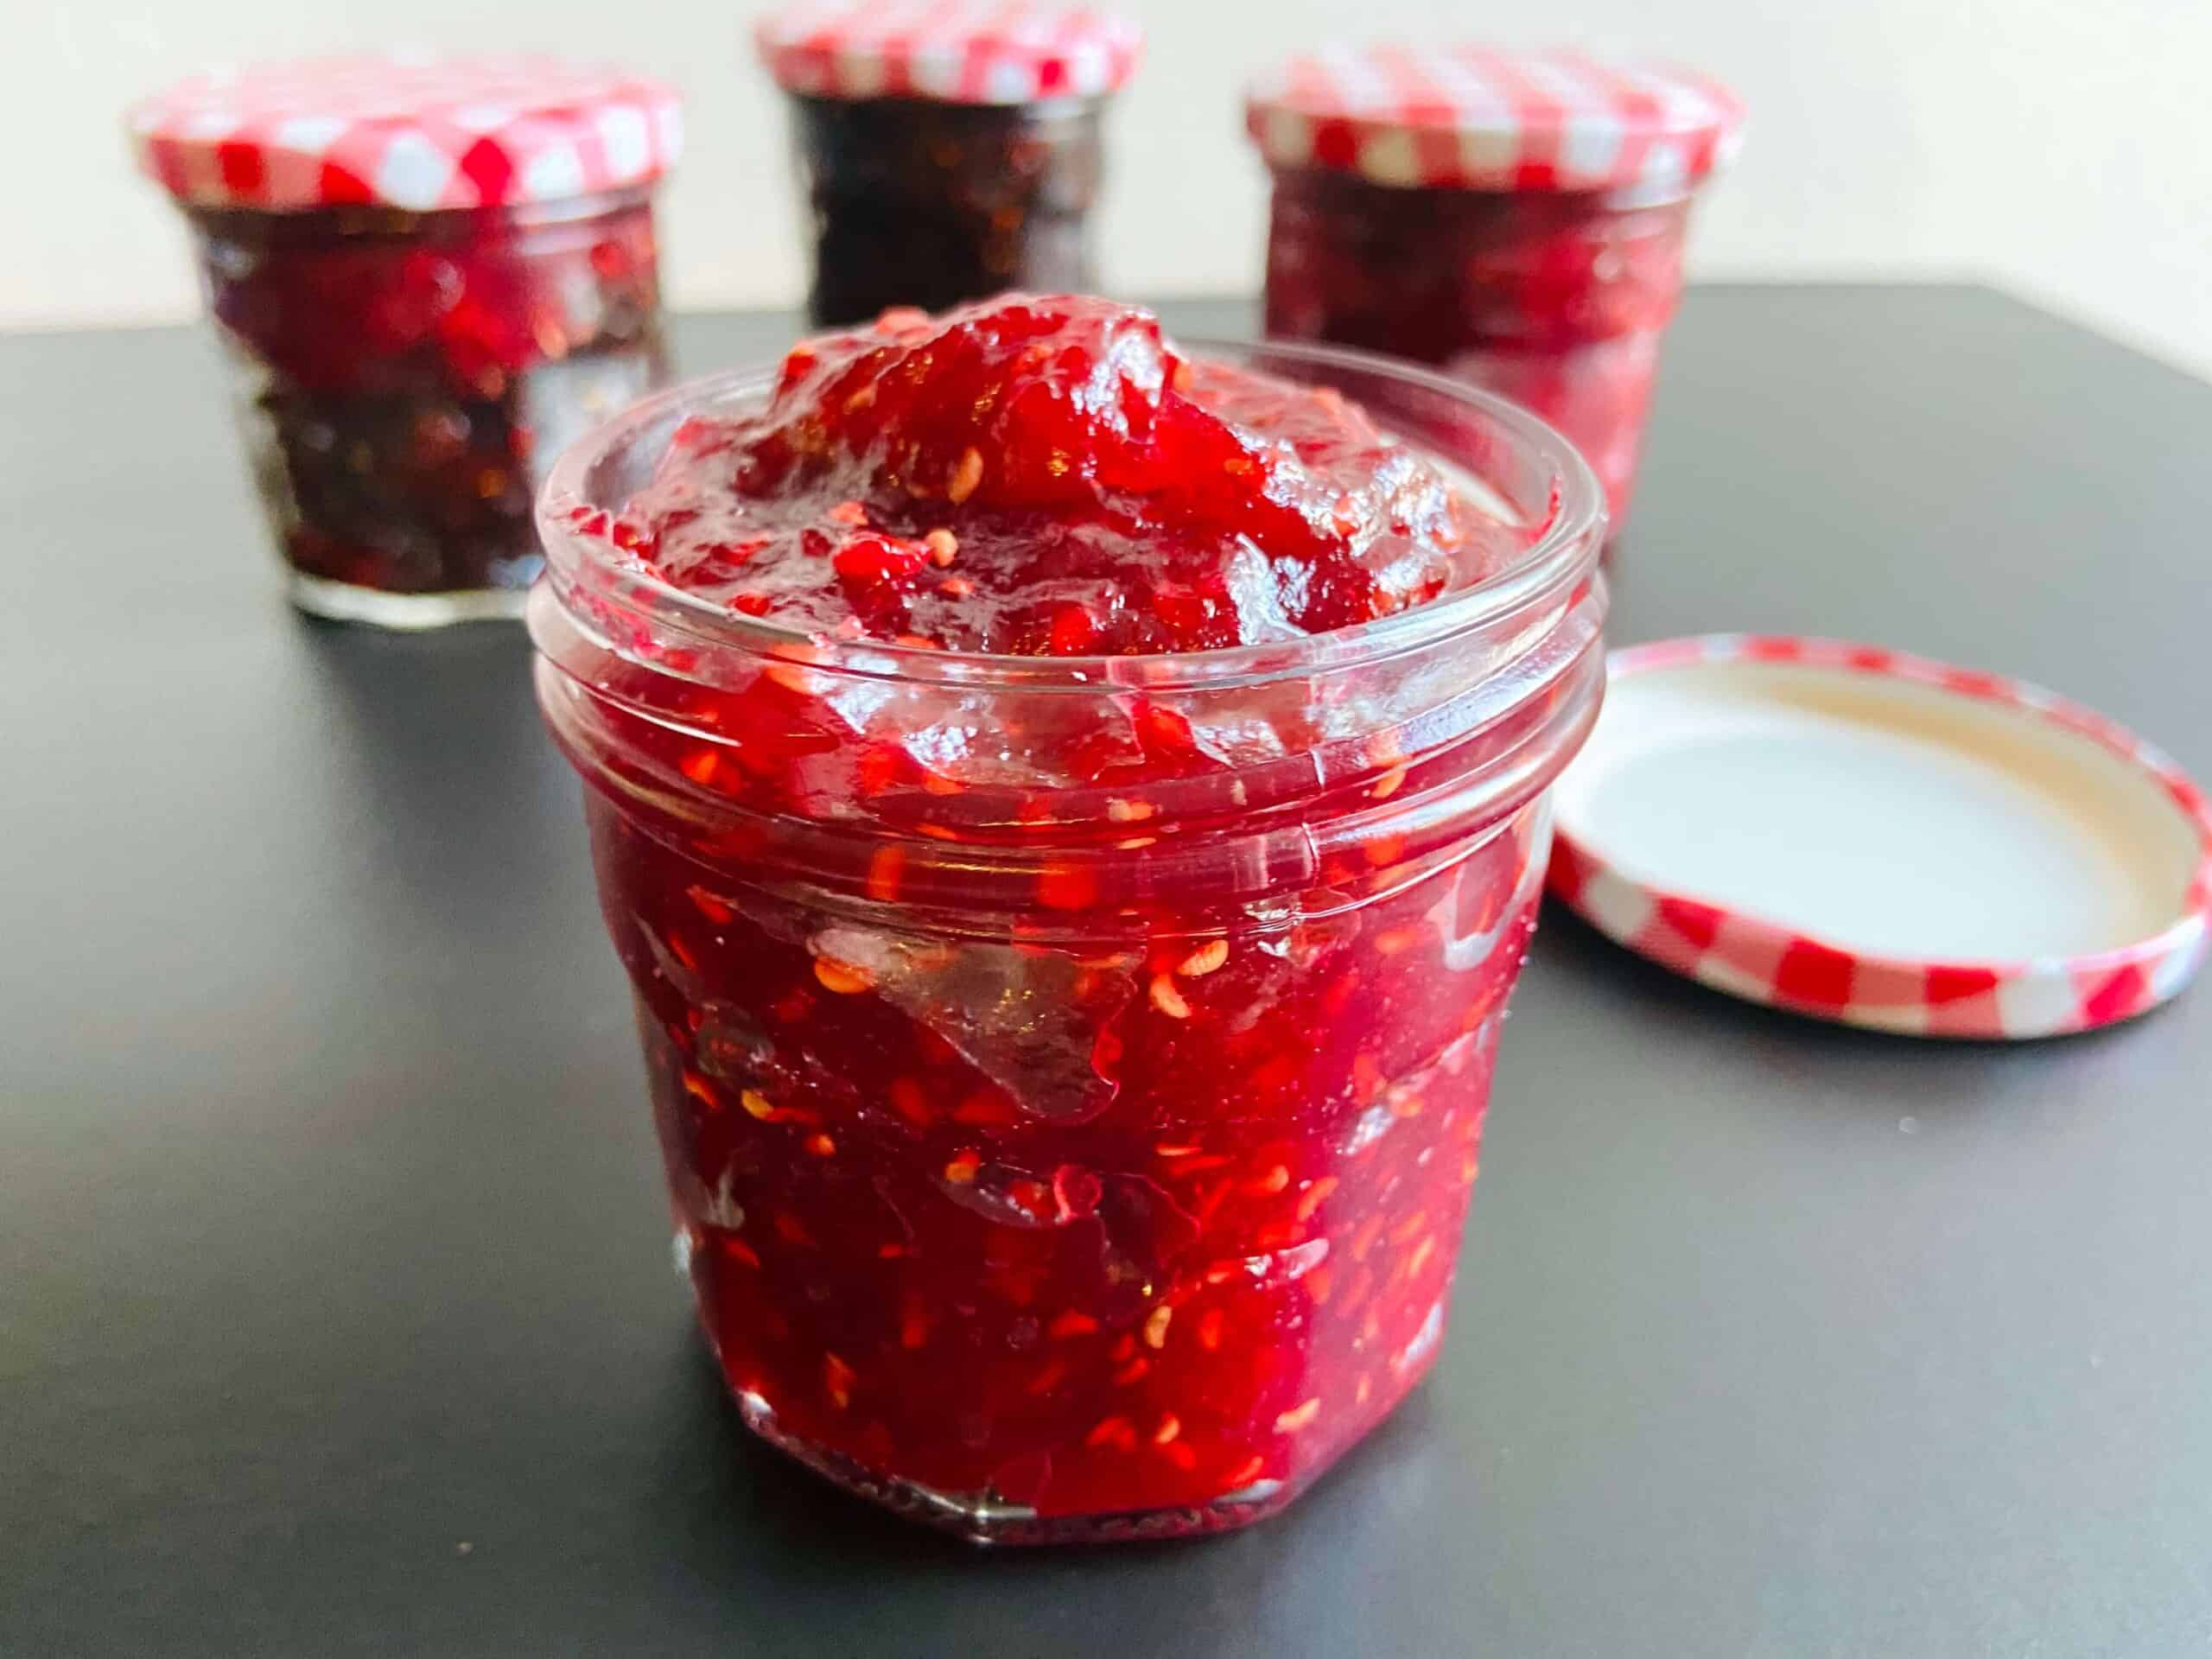
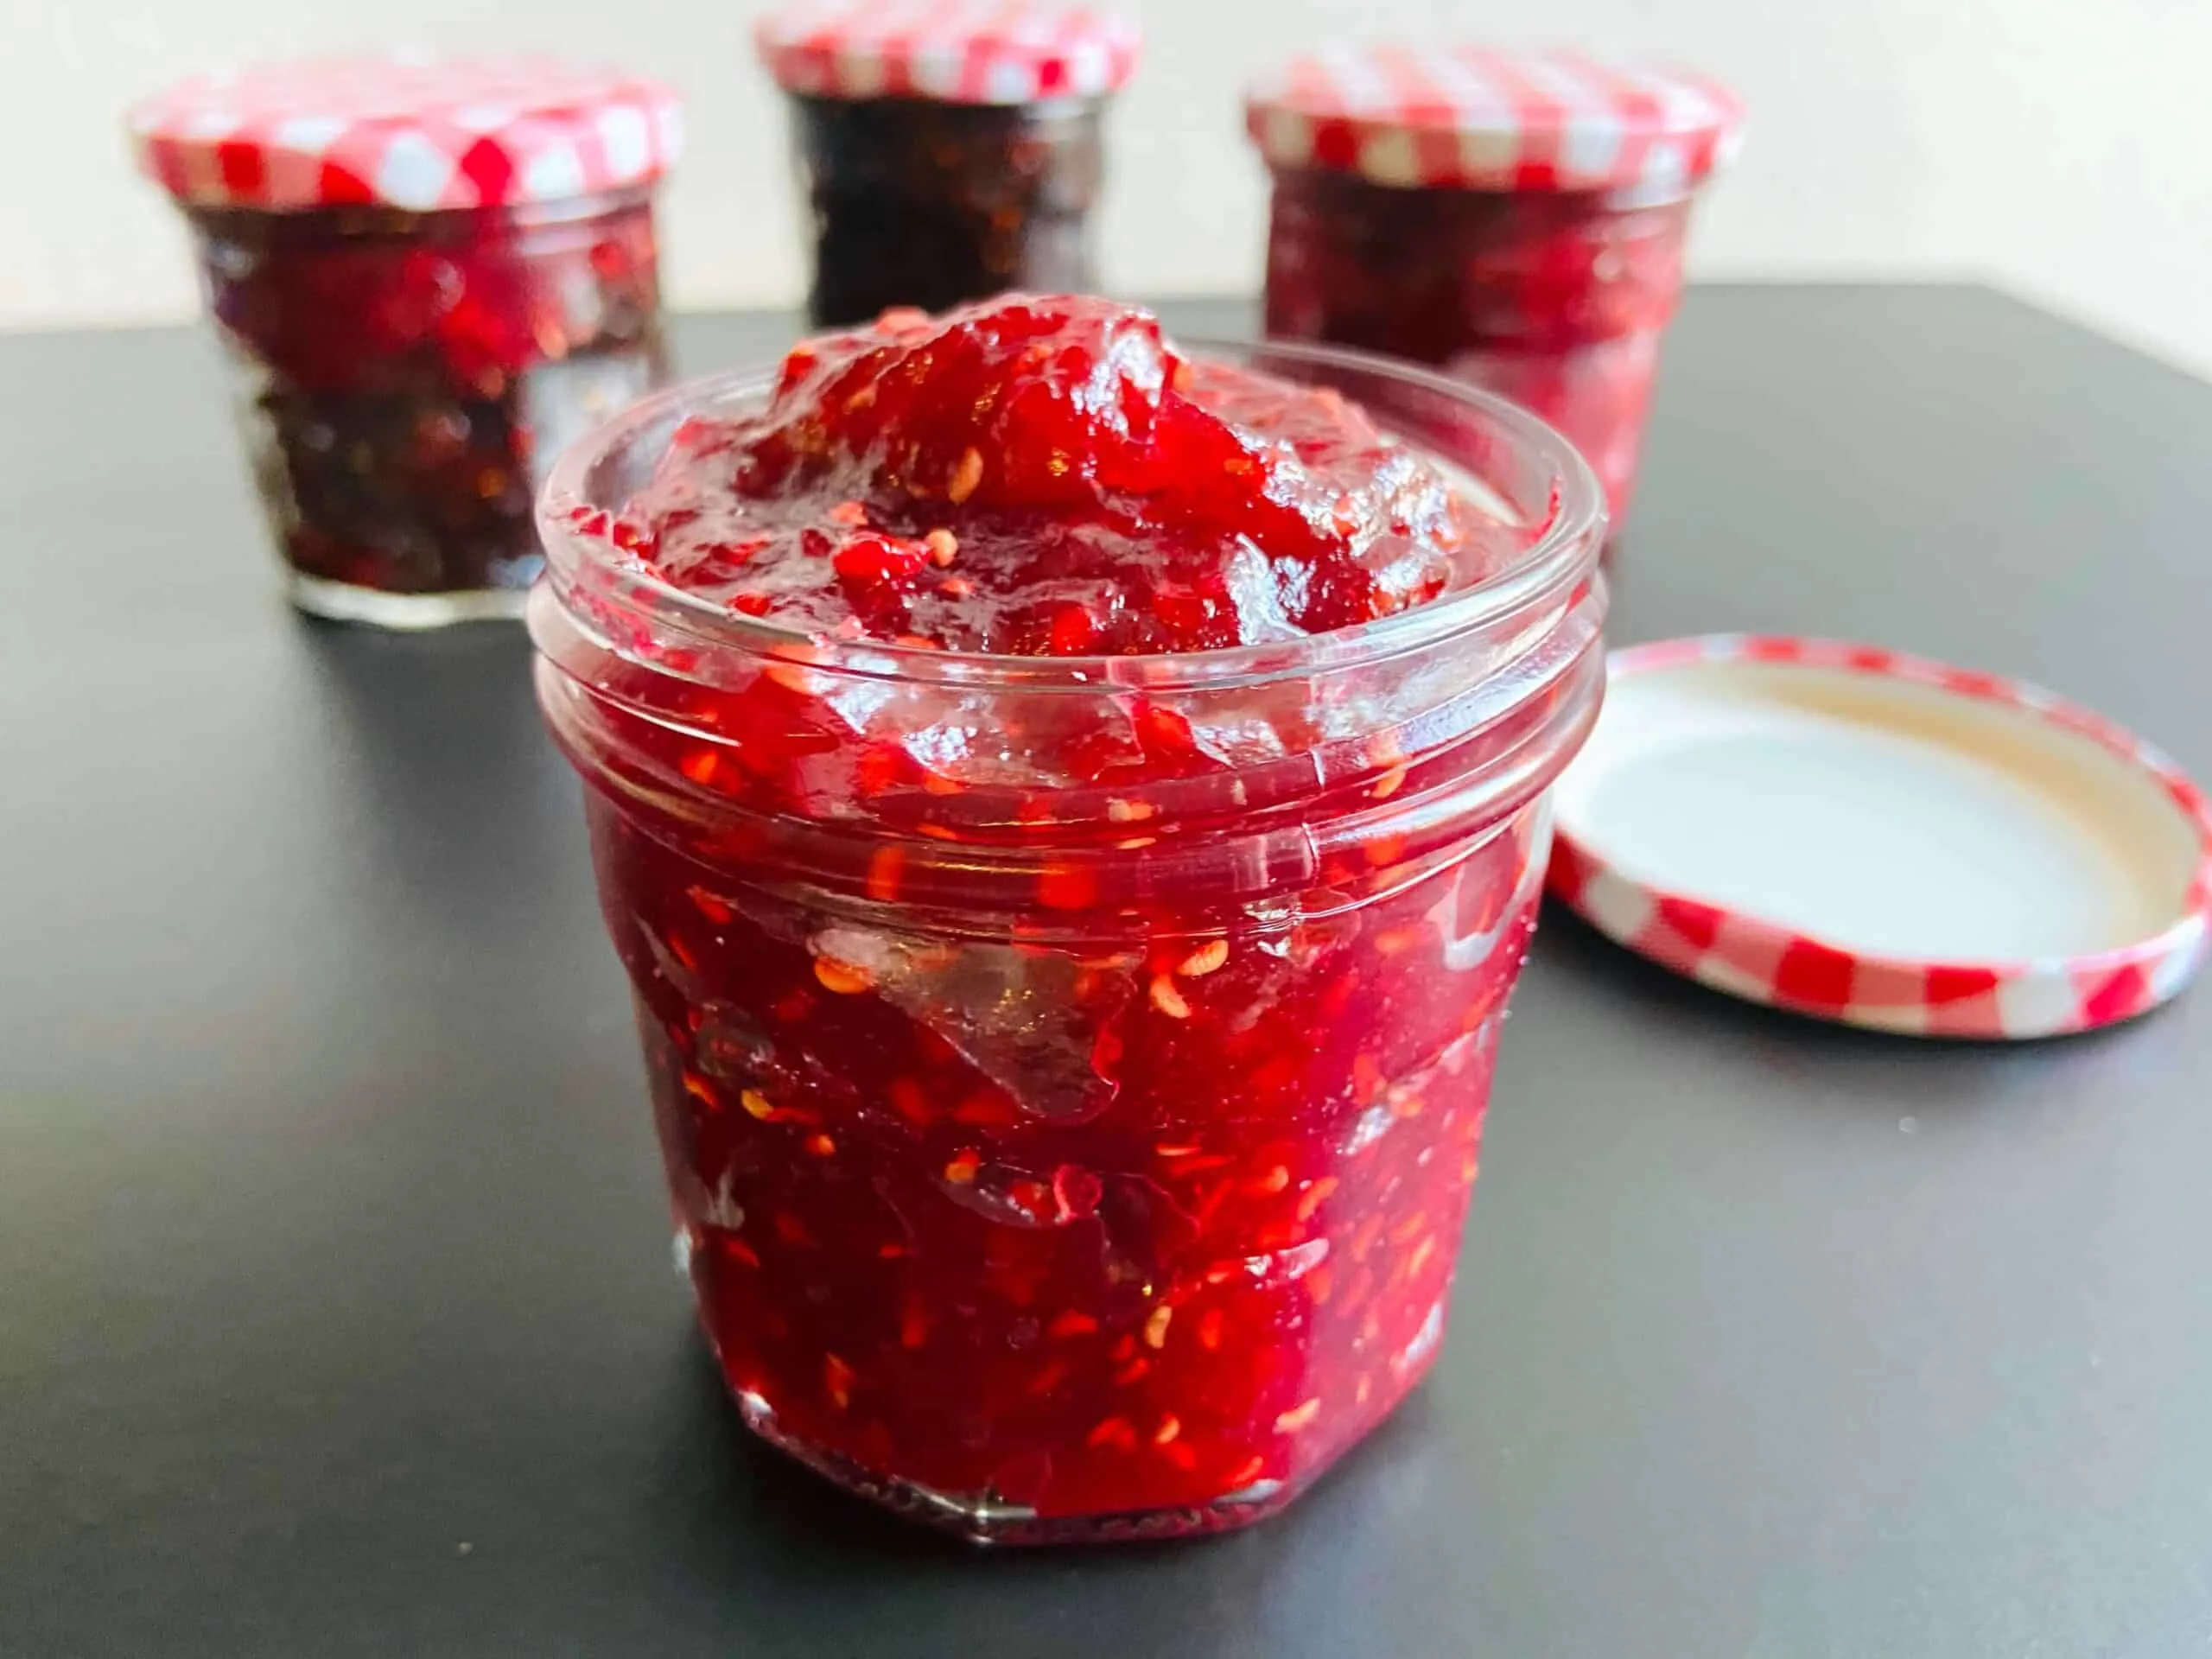
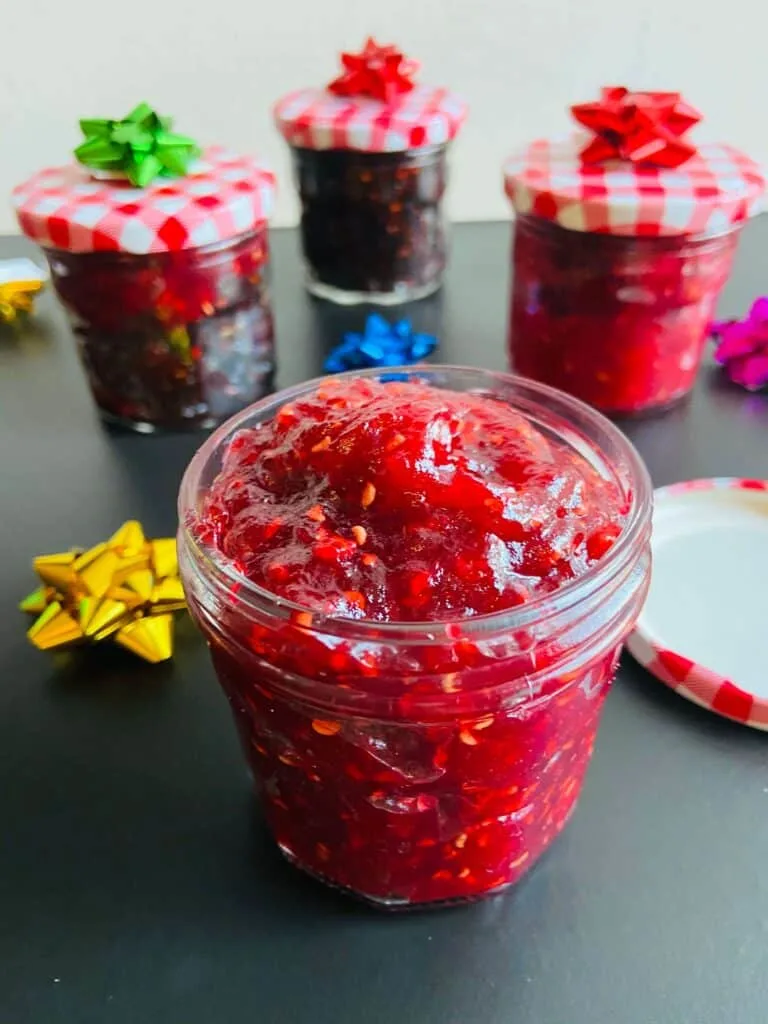
Raspberry and Apple Jam
This easy raspberry and apple jam is sweet and delicious! Perfect for enjoying by yourself on toast, in pb&js, and swirling into yogurt or for giving as an edible gift.
Whip up a big batch of this apple raspberry jam, and store so that you have yummy jam for months to come!
Ingredients
- 3 Green Apples (300g)
- 3.5 - 4 Cups Raspberries (400g) (Fresh or Frozen)
- 1 3/4 Cups Sugar (350g)
- 2 Tbsp Lemon Juice
- 2 Tbsp Water
- 1 tsp Vanilla Extract (Optional)
Instructions
- Peel, core and dice your apples small.
- Add all ingredients to a pan and place on the heat. Stir to combine, and bring the mixture to a low simmer. The juices will start to emerge fruit the fruit and it will get really liquidy as it heats.
- Keep it on a simmer the entire time it cooks, stirring occasionally to ensure even cooking.
- If you prefer a smoother jam texture and it's still chunky for your taste toward the end of cooking, take a masher or fork and break up some of the chunks.
- Start checking your jam for doneness around 25 minutes into the cooking, or earlier if you think it looks like it's reduced significantly. A good way to check it to dip a frozen spoon into the jam, allow the jam to cool for a minute and then draw a line through the jam with your pinky. If the jam comes back together to fill the line, it's not ready yet. Once it starts holding the line, it's finished. Throw a bunch of spoons in the freezer before you start cooking so you can check a bunch of time as it gets to the end of cooking.
- Once it's done, remove from the heat and allow to cool. Store in jars, and either use canning methods, or store in the fridge or in the freezer. For more details on storage, see the full post.
Recommended Products
As an Amazon Associate and member of other affiliate programs, I earn from qualifying purchases.


Nutrition Information:
Yield: 40 Serving Size: 1Amount Per Serving: Calories: 64Total Fat: 0gSaturated Fat: 0gTrans Fat: 0gUnsaturated Fat: 0gCholesterol: 0mgSodium: 1mgCarbohydrates: 16gFiber: 3gSugar: 12gProtein: 1g
Disclaimer: This post may contain affiliate links.